
Custom Air Diffuser Installation: Step-by-Step Guide
Table of Contents
Understanding Custom Air Diffuser Installation
Air Vent Measurement Guide for Custom Diffusers
Measuring duct openings and wall penetrations
Recording non-standard sizes and obstructions
Selecting the Right Diffuser Type and Size
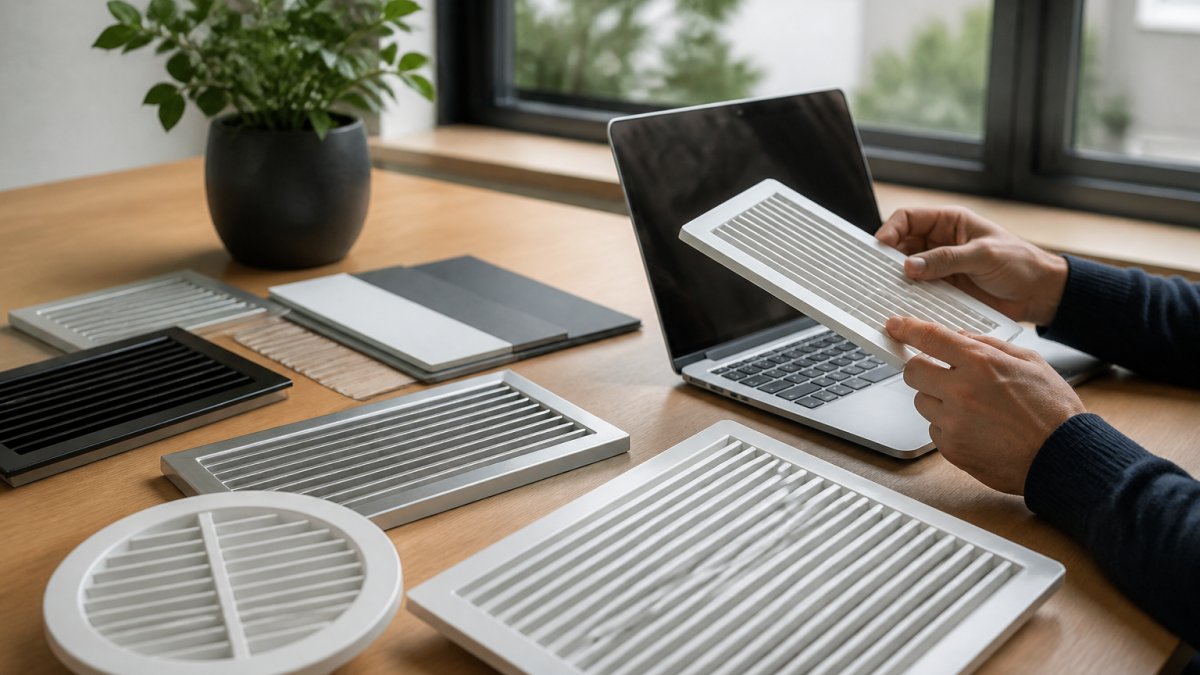
Ceiling diffusers versus wall-mounted options
Matching diffuser specifications to your HVAC system
Tools and Materials You'll Need
Step-by-Step Installation Process
Preparing the installation site
Securing the diffuser frame
Connecting ductwork and sealing joints
HVAC Airflow Balancing and Performance Testing
Prevent Condensation on Air Vents
Ceiling Air Diffuser Replacement in Existing Spaces
Frequently Asked Questions
Last Updated: October 16, 2026
Understanding Custom Air Diffuser Installation
Custom air diffuser installation ensures your heating and cooling system delivers air exactly where you need it. Unlike standard off-the-shelf grilles, a custom air diffuser is built to fit non-standard duct sizes, architectural constraints, and specific airflow requirements that mass-produced options simply cannot address.
At Aircon Grilles, we've worked with builders, architects, and homeowners across residential and commercial projects where standard diffusers fall short. The difference is immediate: proper airflow distribution, better temperature control, and a finished look that complements modern interiors instead of standing out as an afterthought.
The custom air diffuser installation process involves five key steps: measuring your duct openings precisely, selecting the right diffuser type and size, gathering tools and materials, performing the installation itself, and balancing airflow to ensure even distribution. Each step matters.
Air Vent Measurement Guide for Custom Diffusers
Accurate measurements are the foundation of successful custom air diffuser installation. A single centimetre error can mean the difference between a perfect fit and a diffuser that doesn't seal properly or leaves visible gaps.
Measuring duct openings and wall penetrations
Start by identifying where your diffuser will sit. Is it a ceiling opening, a wall mount, or a return air grille? Measure the rough opening (the hole cut into the ceiling or wall) from edge to edge, not the finished frame size.
Use a steel tape measure, not a cloth one. Cloth measures stretch and give inaccurate readings. Measure both the width and height. Write down the dimensions in millimetres, this is the standard for Australian-made custom diffusers.
For ceiling installations, measure the opening while standing directly below it. For wall-mounted diffusers, measure at eye level to ensure the opening is square. Check all four corners.
Record the depth of the duct cavity. This matters because some diffuser frames sit flush with the ceiling, while others require clearance behind them. Measure from the finished ceiling surface back into the duct space.
Recording non-standard sizes and obstructions
Note any obstacles within or around the duct opening: electrical wiring, plumbing, structural beams, or insulation. These constraints often determine which diffuser type will work.
If the opening is irregular (not a perfect rectangle), sketch it roughly on paper. Mark any corners that are cut at angles or any areas where the opening is larger or smaller than the standard dimension.
For return air grilles, measure the clear opening where air flows back into the system. Don't measure the frame itself, measure the actual air pathway.
Take photos of the installation site from multiple angles. Include a tape measure or ruler in the photo for scale. This visual record helps confirm measurements and spot potential installation challenges you might have missed.
Selecting the Right Diffuser Type and Size
Choosing the correct diffuser type determines how air flows into your space and how your system performs overall. The wrong choice creates dead zones, uneven temperatures, or noisy airflow.
Ceiling diffusers versus wall-mounted options
Ceiling diffusers work best for ducted air conditioning systems where supply air comes from above. They're the most common choice in modern homes and commercial buildings. Ceiling diffusers spread air outward in a cone pattern, preventing cold spots directly below the outlet.
Wall-mounted diffusers suit spaces where ceiling installation isn't possible: low ceilings, exposed ductwork, or architectural constraints. They direct air horizontally into the room and work well for return air applications.
Linear diffusers (also called slot diffusers) provide a sleek, minimalist look. They're ideal for modern interiors where you want the grille to blend seamlessly with the ceiling or wall. Linear diffusers distribute air evenly along their length.
Return air grilles pull air back to your HVAC system. Our 595x595 Return Air Grille Egg Crate Filtered is a popular standard size at AU$168.50, but custom sizes work better when your duct opening doesn't match standard dimensions.
Matching diffuser specifications to your HVAC system
The diffuser size must match your duct diameter or opening size. A diffuser that's too small restricts airflow and wastes cooling or heating capacity. One that's too large leaves gaps and allows uncontrolled air leakage.
Check your HVAC system's specifications. The system has a rated airflow capacity, usually measured in litres per second. Your diffuser must be sized to handle that volume without creating excessive noise or pressure drop.
For custom installations, diffusers can be manufactured in virtually any size. Standard options include 250mm cone diffusers (AU$94.65) for smaller zones, and [larger formats like the 900x400 Return Air Grille Egg Crate Filtered](https://www.aircongrilles.com/product-page/900x400-return-air-grille-egg-crate-filtered) at AU$218.70 for whole-home systems.
Consider the material. Powder-coated steel offers durability and a modern finish. Aluminium is lightweight and resists corrosion.

Tools and Materials You'll Need
Before you start, gather everything. Running back and forth to collect tools wastes time and breaks your workflow.
Measuring and marking:
Steel tape measure (at least 5 metres)
Pencil or marker
Carpenter's level
Stud finder (to locate ceiling joists)
Installation:
Drill with bits (for securing brackets)
Screwdriver set (Phillips and flathead)
Adjustable wrench
Tin snips (for cutting ductwork if needed)
Utility knife
Ladder or access equipment
Sealing and insulation:
Flexible duct sealant or mastic
Duct tape (quality brand, not cheap alternatives)
Foam weatherstripping
Caulk gun
Safety:
Work gloves
Safety glasses
Dust mask (if working in older buildings with potential asbestos)
Testing:
Anemometer (handheld wind speed meter) to measure airflow
Thermometer
Most of these are standard tools. If you're hiring a professional installer, they'll bring their own equipment. For DIY installations, borrow or rent specialised items like an anemometer.
Step-by-Step Installation Process
Preparing the installation site
Turn off your HVAC system before starting. This prevents dust and debris from circulating through your home.
Clear the area around the installation site. Remove ceiling tiles, insulation, or any obstruction blocking access to the duct opening. Vacuum the area to reduce dust.
Check that the duct opening is clean and free of debris. If the ductwork is dusty or dirty, wipe it down. Dust interferes with sealing and reduces airflow.
Verify that the duct opening matches your measurements. Sometimes what's recorded differs from reality. If the opening is smaller or larger than expected, contact us to confirm your custom diffuser will still fit.
Mark the location where the diffuser frame will sit. Use a pencil to outline the edges. This helps you position the diffuser accurately and ensures it's centred in the opening.
Securing the diffuser frame
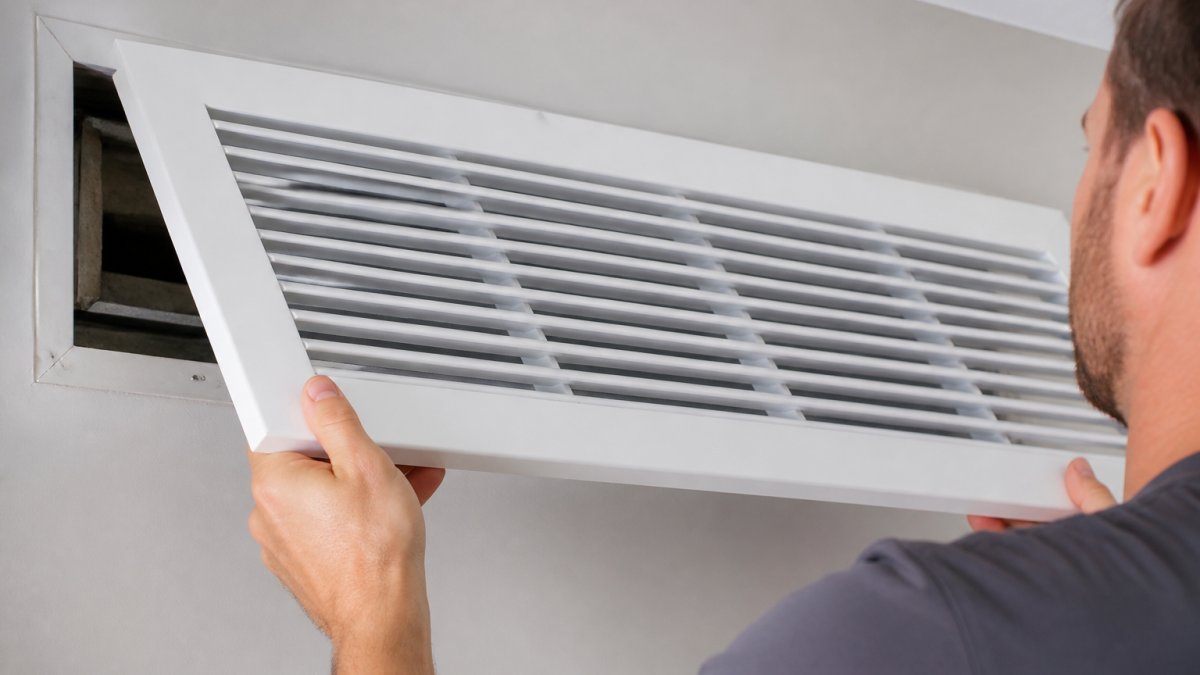
Position the diffuser frame in the opening. For ceiling installations, support it temporarily with a helper or a prop. The frame should sit flush with the finished ceiling surface.
Align the frame so it's level and square. Use a carpenter's level to check both directions. Uneven installation causes visible gaps and airflow problems.
Secure the frame with brackets or fasteners provided with your diffuser. Drill pilot holes first to prevent splitting the frame.
Tighten fasteners evenly. Don't over-tighten, which can warp the frame or strip threads. Hand-tight plus a quarter turn is usually sufficient.
Connecting ductwork and sealing joints
Connect the ductwork to the diffuser outlet. If you're using flexible ductwork, slide it over the outlet collar and secure it with a hose clamp. Tighten the clamp so the duct doesn't slip during operation.
If you're using rigid ductwork, ensure the connection is tight. Use duct sealant or mastic around the joint. Apply a continuous bead of sealant, not just dabs.
Allow sealant to cure per the manufacturer's instructions (usually 24 hours). Don't run the system until sealant is fully set.
Check for any gaps between the diffuser frame and the ceiling or wall. Seal these with caulk or weatherstripping. Air leakage around the frame reduces system efficiency.
HVAC Airflow Balancing and Performance Testing
Installation doesn't end once the diffuser is mounted. Balancing airflow ensures even temperature distribution and prevents hot or cold spots.
Turn the system on and let it run for 10 minutes. This allows air to stabilise before you measure.
Use an anemometer to measure air velocity at the diffuser outlet. Typical supply air velocity should be between 2 and 4 metres per second.
If velocity is too high, the duct may be undersized or the system pressure is excessive.
If velocity is too low, check for blockages in the ductwork. Remove any insulation or debris restricting flow.
Measure temperature at the diffuser outlet and in different zones of the room. A well-balanced system maintains consistent temperature throughout.
Listen for noise. Hissing, whistling, or rumbling indicates turbulence or restriction. These problems often resolve by adjusting system pressure or ductwork routing.
Record your measurements. This baseline helps you spot performance changes over time.
Prevent Condensation on Air Vents
Condensation forms when warm, humid air contacts a cold diffuser or ductwork. In Australian climates, especially in humid regions, this is a real concern.
Insulate the ductwork leading to your diffuser. Wrap ducts with foam or fibreglass insulation rated for your climate zone. This keeps the duct surface warmer and reduces condensation risk.
Ensure your air conditioning system runs a dehumidification cycle. Modern systems include this feature. Set your thermostat to maintain indoor humidity below 60%.
Check diffuser material. Powder-coated steel and aluminium resist corrosion better than bare metal. Our custom diffusers use materials chosen for durability in humid conditions.
Inspect diffusers regularly. If you notice water droplets, increase insulation or adjust system settings. Early detection prevents mould growth and material degradation.
For return air grilles, ensure the filter is clean. A clogged filter forces air through gaps, creating turbulence and condensation.
Ceiling Air Diffuser Replacement in Existing Spaces
Replacing an existing ceiling diffuser is simpler than a new installation because the duct opening already exists. However, the opening may not match modern diffuser sizes.
Turn off the HVAC system. Remove the old diffuser by unscrewing or unclipping it from the frame.
Inspect the old frame. If it's in good condition, you can reuse it with a new diffuser core. If it's corroded, damaged, or doesn't match your new diffuser, remove it completely.
Clean the duct opening thoroughly. Remove dust, debris, and any old sealant.
Measure the opening again. Standard replacement options like our 250mm Cone Diffuser at AU$94.65 work for many residential applications.
Install the new diffuser following the steps outlined above. Seal all joints with mastic or caulk.
Test airflow and temperature distribution. Replacement diffusers often improve performance compared to older models, especially if the original was undersized or poorly sealed.
Replacing or installing a custom air diffuser is straightforward when you approach it methodically. Whether you're retrofitting existing spaces or installing in new builds, we deliver the quality and fit that standard options can't match.
Frequently Asked Questions
How do you measure an air diffuser for replacement?
Measure the opening width and height in millimetres, then the depth of the duct cavity. For non-standard spaces, photograph the opening and note any obstructions, angles, or adjacent fixtures. Record the duct diameter or rectangular dimensions where the diffuser connects. Provide these measurements when requesting a custom air diffuser to ensure a perfect fit without requiring multiple measurement rounds.
How do you prevent condensation on air vents?
Condensation forms when cold supply air meets warm, humid room air. Install diffusers with insulated frames in humid climates, ensure proper airflow velocity to prevent stagnation, and maintain room humidity between 30-50%. Seal ductwork joints to prevent cold air leaks, and choose diffusers with thermal breaks that reduce surface temperature.
Can you install a custom air diffuser in an existing ceiling?
Yes, custom diffusers can be retrofitted into existing ceilings if the duct opening is accessible. You'll need to carefully cut or enlarge the opening to match the diffuser size, reinforce the surrounding structure if needed, and ensure the ductwork can accommodate the new diffuser. Retrofit installations are more complex than new builds and may require temporary support while the diffuser frame is secured. Professional installation is recommended for existing spaces to avoid structural damage.
What's the difference between an air grille and a diffuser?
Air grilles direct air in a single direction and are typically used for return air (pulling air back to the system), while diffusers distribute air in multiple directions for supply air delivery. Grilles have parallel bars or louvers, whereas diffusers have cone, radial, or multi-directional elements. Diffusers provide better air mixing and comfort in occupied spaces, while grilles are more efficient for return pathways. The choice depends on your HVAC layout and room comfort requirements.
Shop with us today

Comments